


When creating a website or blog, we often focus on tasks like registering a domain, selecting a tool, customizing a template, and adding content related to our business or project. However, the logo is a crucial aspect that is sometimes overlooked.
The logo is like the face of your business or design, a visual symbol that helps people recognize you. Think about Apple – when we see the apple symbol, we immediately think of the company. This shows the significance of a logo.
Many businesses do not have a logo due to a lack of resources to hire a professional designer, especially at the start of a project when budgets are limited.
Several companies have developed user-friendly design tools for individuals who want to create layouts independently, including Adobe, a global company recognized for its professional creative software like Photoshop and Illustrator. Adobe Spark is another tool offered alongside these popular applications within the Creative Cloud suite.
What is Adobe Spark?
Adobe Spark is a web-based design tool that can be used on various devices such as computers, tablets, and mobile phones. It allows users to design images for social media, create presentation videos, develop websites, and design logos, all available in the free version.
chsyys/Flickr
I will guide you through the process of making a logo for free on Adobe Spark in this article. Afterward, you’ll have no reason not to have a logo on your website or blog. Ready to get started?
Create a logo for free using Adobe Spark
1. Gain entry and sign up without charge on the platform
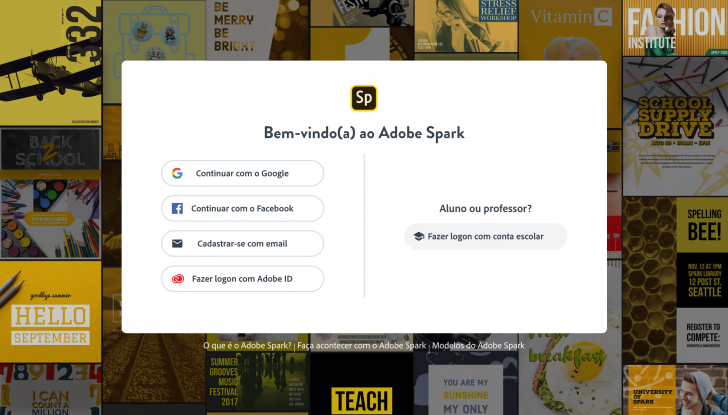
To create a logo in Adobe Spark, the initial step is to visit the tool’s website using the provided link. Once on the page, select either the “Start Free” or “Create Logo Now” button to sign up for free.

You can sign up using email, Facebook, or Google. If you have an Adobe account, you can use that to log in. Adobe Creative Cloud subscribers get full access to Adobe Spark. You can try out the service for free on the Adobe website if you’re interested.
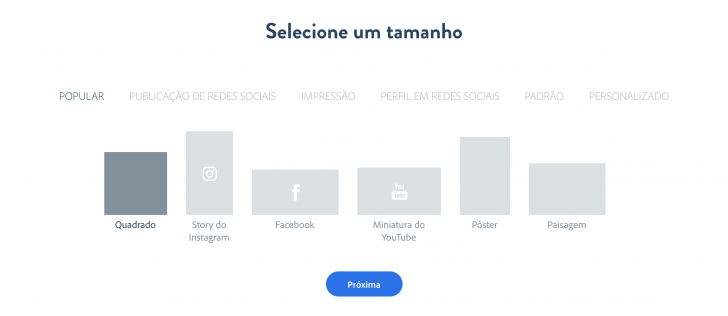
Choose the size of the image.
In the next stage, we should opt for an image format. When designing the logo, we will opt for the square format. This choice is not restrictive to your brand’s shape; it is simply a convenient starting point that can be modified later on if desired. Subsequently, proceed by clicking on “Next”.
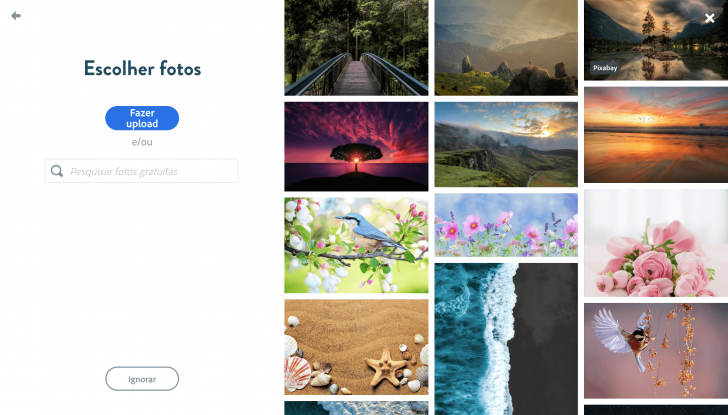
Choose a photo (it is advisable to skip this step).
When choosing the layout, the next step is picking a picture for your design. While this is fun for social media posts, it’s not advisable for logos. Logos should be clear and simple, which is not achieved with background photos. Therefore, skip this step by selecting “Ignore.”
Search for the word “logo” using the search bar.
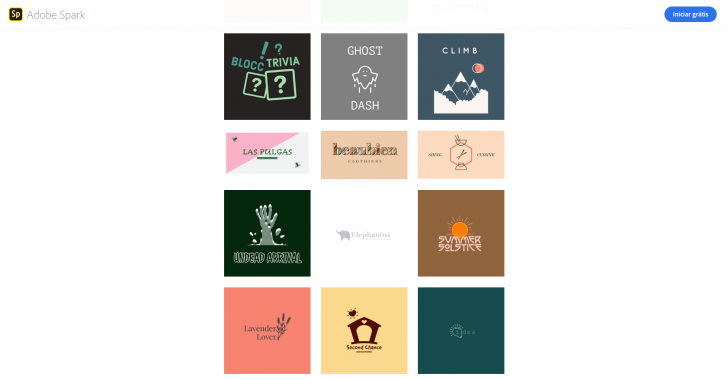
Once you start, you will encounter the tool screen displaying an empty layout and various templates available for use, like business cards and posters. To design a logo, it is advised to search for “logo” in the search box located on the right side.
The search results will display various logo templates to choose from. Premium subscribers have access to models with a yellow tag, while free users can select from other options for customization.
To enlarge the image, simply click on it. There are various categories available, such as beauty, tourism, food, real estate, health, and miscellaneous services, as well as generic or abstract designs. If you don’t find a perfect match for what you want, there is no need to worry as the model list is not exhaustive. You can customize your brand extensively in the subsequent steps.
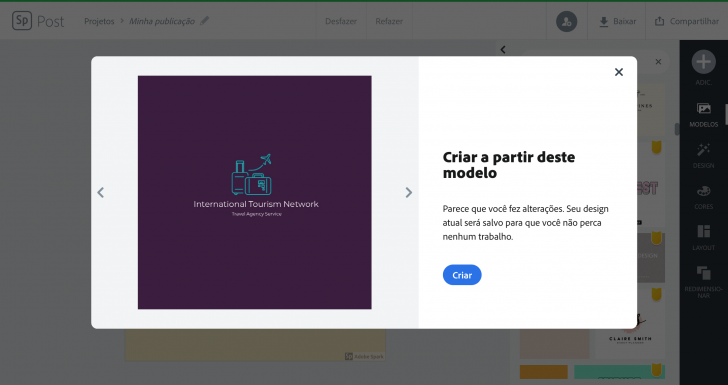
Choose a template to personalize.
Click on “Create” after selecting the logo template to begin customizing. Subsequently, adjust colors, icons, fonts, and other elements to develop a unique design from the original.
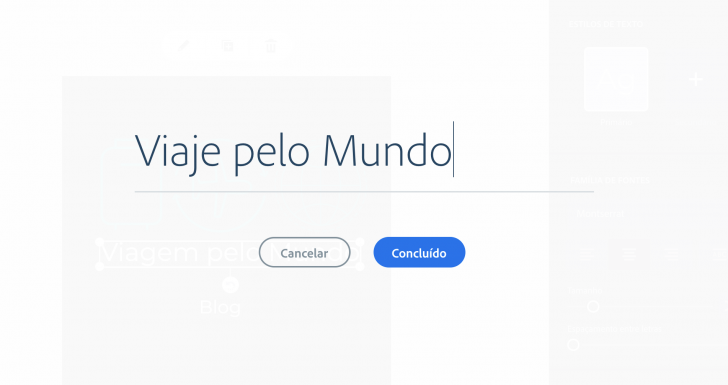
Customize your brand name to suit your preferences.
The simplest way to begin customizing is by changing the name in the logo. You can easily replace the fictitious name in the template with your preferred name. It’s not necessary to adjust the source at this stage; that can be done after modifying other elements. As an example, I will demonstrate creating a travel blog.
Edit or substitute your logo icon.
To ensure your logo is unique, I suggest incorporating one or multiple distinct icons from the chosen template.
Click the icon you want to replace, and the tool will display numerous options for you to select from. Keep in mind that the tool is in Portuguese, but the automatic search was conducted in English. It is recommended to search in English when possible.

You are not limited to using just one icon; you can duplicate and add multiple icons as desired. In this case, three travel-related icons were combined to create a unified image.

I need to modify other elements of the logo to make it truly personalized, such as adjusting the color scheme from the original template.
Customize the color palette of your logo.
Each logo template includes a color palette that can be fully personalized. To avoid the risk of colors not matching, a safer option is to utilize a free color palette tool like Coolors.
The likelihood of selecting your brand colors is increased, especially if you’re not a design professional. Here is the color scheme I selected for my travel blog brand. 🙂
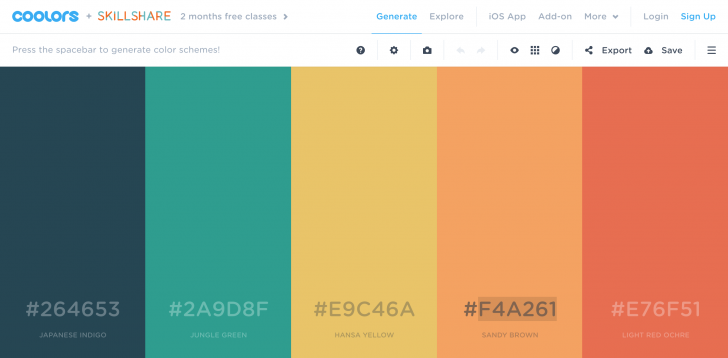
To update your color scheme, choose each part of your logo and input the preferred color code, as demonstrated above (#264653 for dark blue, #2A9D8F for green, etc.). Alternatively, use the mouse to select and experiment with different options.

You have the flexibility to personalize the color of individual elements, such as assigning a distinct color to each icon if desired. Opting for uniform colors in icons grants greater flexibility to experiment with different colors for names and backgrounds.
Now that you have adjusted the colors of your logo, let’s move on to the origins!
Edit the fonts on your logo.
The selection of font is crucial in designing your logo. It should align with the image you want for your brand, whether it be serious, playful, or informal. Experiment with different fonts until you find one that suits your brand’s personality.
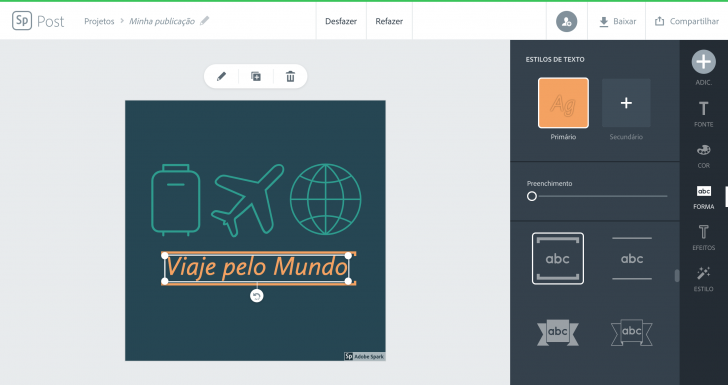
To customize the font, simply click on the text and choose your preferences. You can adjust the size, letter spacing, alignment, and other settings.
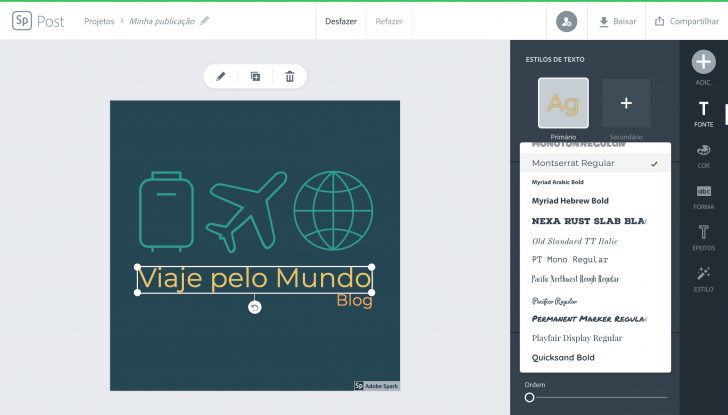
You can enhance the text by utilizing additional elements like shapes and effects found in the right menu. As an illustration, I opted to include double brackets around the blog name, as demonstrated in the image below.
Remove the Adobe Spark branding.
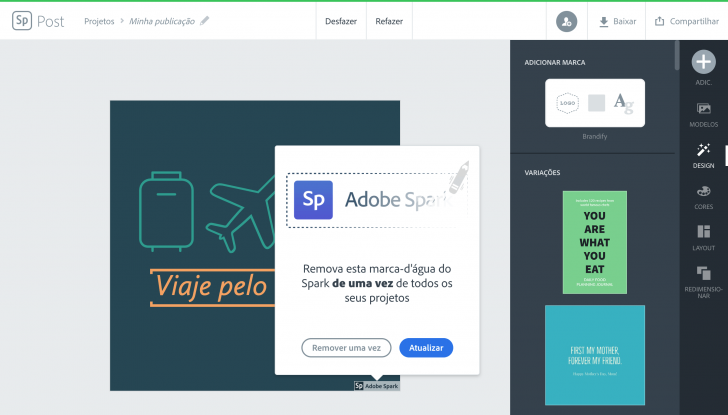
To complete the logo creation process, we need to eliminate the watermark on Adobe Spark. This can be done once for free, but subsequent removals require a paid plan or Adobe Creative Cloud subscription.
Choose the Sp brand at the bottom of the image, then click “remove once”. The image will vanish, and a screen with the plans will appear. Simply close the screen by clicking the X in the top corner to go back to your design.
Consider opting for a paid plan if you require additional features or different layouts for your business beyond what the free plan offers.
Download your logo in various file formats.
After finalizing your logo design, you can download it onto your computer by clicking the “Download” button located in the tool’s top menu. Select your preferred format (.png, .jpg, or .pdf) and save the file. It’s advisable to save the logo in all available formats, although .png is usually the best choice for illustrations such as logos.
The PDF version can be modified in vector software like Adobe Illustrator or Corel Draw, enabling easy resizing for printed materials.
Develop various iterations of your brand.
Save your logo with and without background to use in various situations. For more versatility, duplicate your project in Adobe Spark and create black and white as well as inverted color versions of your brand. This ensures your logo looks good in any context.

Apply the logo to your website or blog.
It’s time to add the logo to your website or blog now that you have created it. If you haven’t created one yet, you can make a free logo using platforms such as Wix or WordPress, both of which are user-friendly and effective.
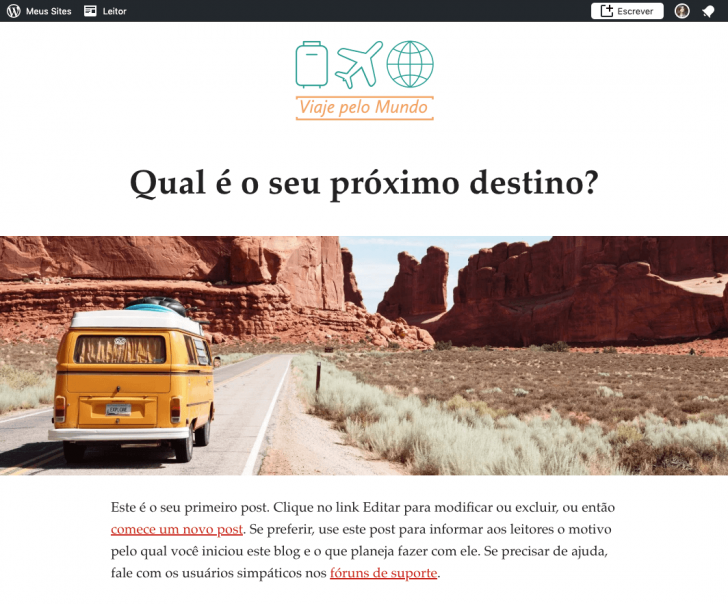
When selecting a theme, consider the logo placement, which can differ based on the site or blog theme. For instance, I opted for a WordPress theme that prominently features the logo.
Consider the best format for your logo based on the type of blog or website you have, such as vertical, horizontal, or typography only, if it is already published.
To enhance the appeal of your website or blog, consider exploring our selection of banks offering free high-quality images, such as the one shown above, sourced from Unsplash.
In summary
Creating a free logo is simple and enjoyable, thanks to tools like Adobe Spark that allow anyone to design their own logo for use on their website and other platforms.
Check out this article showcasing the top logo design tools for more options. You’re sure to discover what you’re looking for. 🙂

Image credit: icon astronaut by Luis Carlos Castillo Ortega for the Noun Project.
Publication date: 23/10/2019 (last updated on 26/01/2021)
Tags: Logo, Lessons